


Painting windows is a high-impact upgrade. Fresh frames and sashes make a room look cleaner, brighter, and better maintained. The downside is that windows punish shortcuts. Poor prep leads to peeling, thick paint leads to stuck sashes, and sloppy edging leaves paint on the glass.
This guide covers the full process for painting windows and window frames including wood, vinyl, and aluminum, plus a faster no-tape option you can use when you want crisp lines without spending hours masking panes.
Quick how-to guide: the window painting workflow
- Clean and degloss.
- Scrape loose paint and sand edges smooth.
- Repair wood or glazing (if needed).
- Prime bare/slick areas with the right primer.
- Paint in thin coats. Keep paint out of tracks and weatherstripping.
- Perfect glass-edge method: careful cut-in (or tape panes) followed by razor clean. For an easy alternative method when spraying your windows, a liquid mask also works extremely well in some situations.
Step 1: Identify what kind of window frame you have
Your prep and primer depend on the substrate. If you’re not sure, treat the frame like a slick surface and plan for stronger prep:
- Wood windows: sand/prime and paint.
- Aluminum or metal-clad: needs deglossing and bonding primer for long-term adhesion.
- Vinyl: often paintable with the right prep and coatings, but it’s the easiest to fail if you skip cleaning or deglossing or use the wrong primer/paint.
- Divided-lite vs. grilles between glass: “true” muntins and grids add edges that collect paint buildup. The solution is thinner coats and careful sequencing.
- sash tracks
- areas that must move
- weep holes (on certain window systems)
- bare wood
- repaired areas
- stained/bleeding areas
- slick metal/aluminum or glossy finishes (use a bonding primer)
Step 2: Clean and degloss
Paint sticks best to a clean, dull surface. Wash frames and sashes with mild soap and water, rinse, and let them dry fully. If the existing finish is glossy or slick, lightly sand or use a deglosser so the new coating can mechanically bond.
This step is especially important for vinyl and aluminum, where adhesion is the most common failure point.
Step 3: Scrape loose paint and sand for a smooth edge
Remove any flaking paint with a scraper. Then sand edges so the transition from old paint to bare substrate feels smooth to the touch. You’re removing failure points so the new paint can form a continuous film. If you find soft/rotted wood, repair it before priming. Paint is not a structural fix.
Step 4: Address glazing, caulk, and gaps the right way
Older wood windows often have glazing putty around panes. If it’s cracked or missing, repair and let it cure before painting. Anything that blocks movement or drainage will create problems later.
Caulk is useful for stationary trim joints, but avoid caulking:
- sash tracks
- areas that must move
- weep holes (on certain window systems)
Step 5: Prime only where it’s needed (but choose the right primer)
Use primer on:
- bare wood
- repaired areas
- stained/bleeding areas
- slick metal/aluminum or glossy finishes (use a bonding primer)
A common reason “window paint peels” is a mismatch between surface and primer type, especially on metal and vinyl.
Step 6: Choose the right paint for windows and frames
Window sashes and trim take abuse: hands, cleaning, friction, and temperature swing. Use a durable enamel designed for trim—often a waterborne enamel or waterborne alkyd—so it levels well and cures hard.
For exteriors, choose a high-quality exterior paint rated for the substrate and exposure. The “best” product is the one that matches the surface and conditions you’re painting in.
Step 7: Paint in the right order
The goal is even coverage without buildup in moving parts. Use thin coats. Two thin coats beat one heavy coat every time, especially on muntins/grids.
For double-hung windows:
- Upper sash: lower sash down. Paint accessible upper areas.
- Lower sash: raise it slightly. Paint rails and stiles.
- Jambs and stops: avoid the sliding channels.
- Casing/trim: broader pieces last.
What not to paint
- Tracks and sliding channels
- Weatherstripping
- Meeting surfaces where the sash must seal and move
A note on Pro Level Results: How to handle the glass edge
You have two reliable options: cut in carefully and clean the line afterward, or use a high-quality painters tape (and still be ready for some light razoring later if needed), or use a liquid mask and spray your windows for a closer to new finish (in select circumstances)
Method A: Cut in neatly, then clean the glass
This is the traditional pro method:
- Brush paint to the edge and slightly onto the glass (a hairline overlap helps seal the edge).
- After the paint firms up, use a razor scraper at a low angle to clean the glass line. Slowly and carefully zip a neat edgeline just onto the glass edge, then razor scrape to that perforation point
Or
- Mask panes to avoid (or lessen) razor blade cleanup later.
-
- Not all takes are created equal. Do not use your old roll of masking tape for this process. The best tapes available for a clean release and minimization of bleed-under are 3M Precision Tape, or 3M ScotchBlue 2093EL. These are absolutely worth the extra expense.
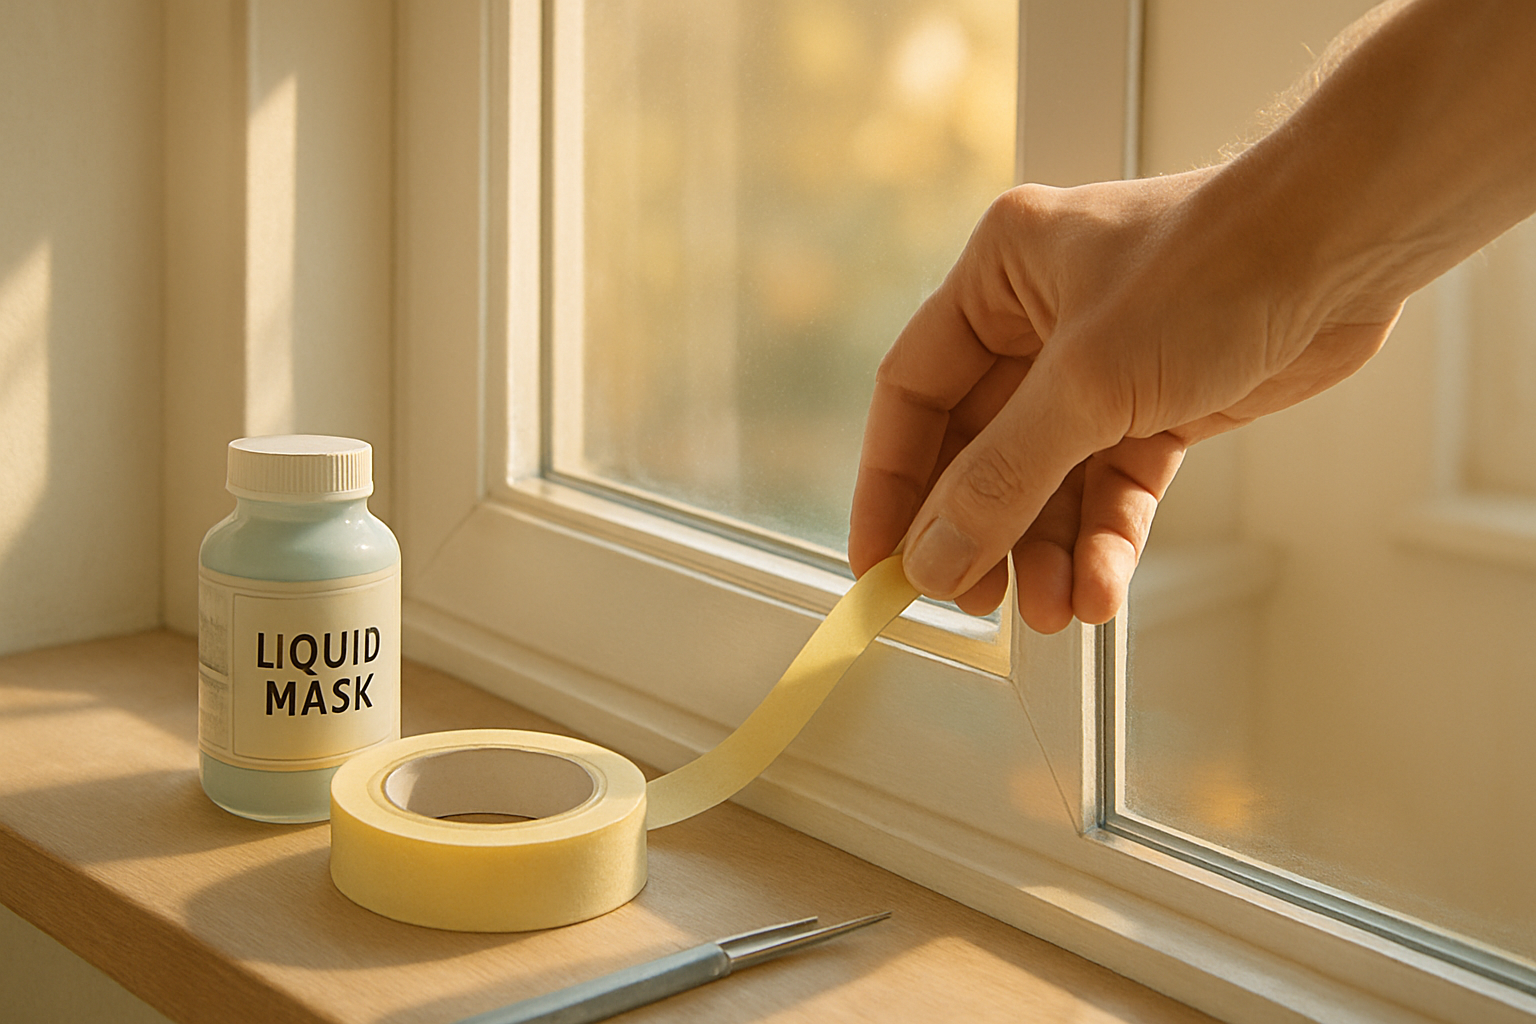
Method B: (in certain situations...and when spraying): Apply a liquid mask to your glass panes.
So what is this revolutionary new way that will make your life so much easier when it comes to painting windows? Well, what if you didn't have to have a steady hand or spend hours with a roll of masking tape to get clean, crisp lines around your glass? What if you could just brush on some magic liquid all over the entire sash that would allow you to paint the frame and the muntins, but protect the glass and keep any paint from sticking to it?
It's called Masking Liquid H2O. And it is just what its name implies. Liquid masking tape. Even better though, this product also doubles as a primer, which means you don't need two separate products. Just brush it onto the glass as well as onto the frame and the muntins if you need to prime them (after the surface has been prepared), then allow it to dry and apply your topcoats over it. It works great as a primer for:
- Bare Wood
- De-glossed Previously-Painted Surfaces
- Dull, Primed Metal
- Vinyl
- Finished Aluminum
It's an interior/exterior water-based clear coating, so it's easy to work with and cleans up with soap and water. Once your paint is dry, simply take a utility knife or the edge of your scraper and score the paint film where the window glass meets the frame and any muntins, then simply peel the film off of the glass. It really is that easy and painless.
Dry time: When can you close or open painted windows?
Humidity and temperature heavily affect this, especially for exterior window work. Dry-to-touch is not cured. If you close a window too early, it can stick and tear the paint film.
Practical approach:
- Wait until the paint is firm enough that it doesn’t feel tacky under light pressure.
- If you must close windows overnight, use wax paper between contact points.
- Move sashes gently once the paint can handle light friction.
What we’ve learned through dealing with tough Pittsburgh weather
In Pittsburgh, exterior window painting succeeds or fails based on moisture and temperature swings. Aim for a stretch of dry weather so the surface stays dry from start to finish, especially after overnight dew or a passing shower. High humidity slows drying and can leave paint soft longer, which increases the risk of sticking sashes, collecting dirt, or losing crisp edges.
Plan your work for late morning through mid-afternoon, after any moisture has burned off and before temperatures drop in the evening. If rain is in the forecast, hold off. Paint that hasn’t had time to cure can wrinkle, haze, or lose adhesion. When conditions are stable, thin coats cure harder, lines stay sharper, and your finish lasts longer through Western PA’s freeze-thaw cycles.
Pittsburgh recommended reading: Our top exterior painting tips
When it’s worth calling a pro
If you have multiple banks of divided-lite windows, high ladder work, or older windows that already stick, professional application can prevent the common failure modes (adhesion issues, stuck sashes, paint buildup in tracks).
If you’re looking for a painting contractor in Pittsburgh PA, ImageWorks provides residential painting services across Greater Pittsburgh.


Contact the Pros
Ready to get started with your next painting project but unsure if it is in your budget? Reach out to the expert painting team at ImageWorks Painting to schedule a free consultation today. Give us a call at 724-898-2446, or request a visit online.